Basic Implementation
Implement the widget by using the the code below in your site.Customize the widget.
To customize the widget here are the following attributes.| Attribute | Default | Options | Description |
|---|---|---|---|
| data-server | Required | Your server domain | The LaunchMC server domain to test (e.g., “myserver.launchmc.com”) |
| data-theme | auto | dark, light, auto | Widget color theme. Auto detects based on page background |
| data-initial-count | 3 | 1-10 | Number of locations to show initially |
| data-show-copy | true | true, false | Show copy-to-clipboard buttons for server IPs |
| data-compact | false | true, false | Use compact layout for smaller spaces |
| data-auto-refresh | 0 (off) | Seconds | Auto-refresh interval in seconds (0 = disabled) |
CORS Notice: The widget makes cross-origin requests to fetch latency data. Make sure your website allows this or use the iframe method for maximum compatibility.
Example code for JS widget customizations
Below is an example on how to use the JS widget with the custom options. As mentioned above.Iframe Integration
You can additoanlly use iframe to integrate the widget into your site. Using the code below.Image Example
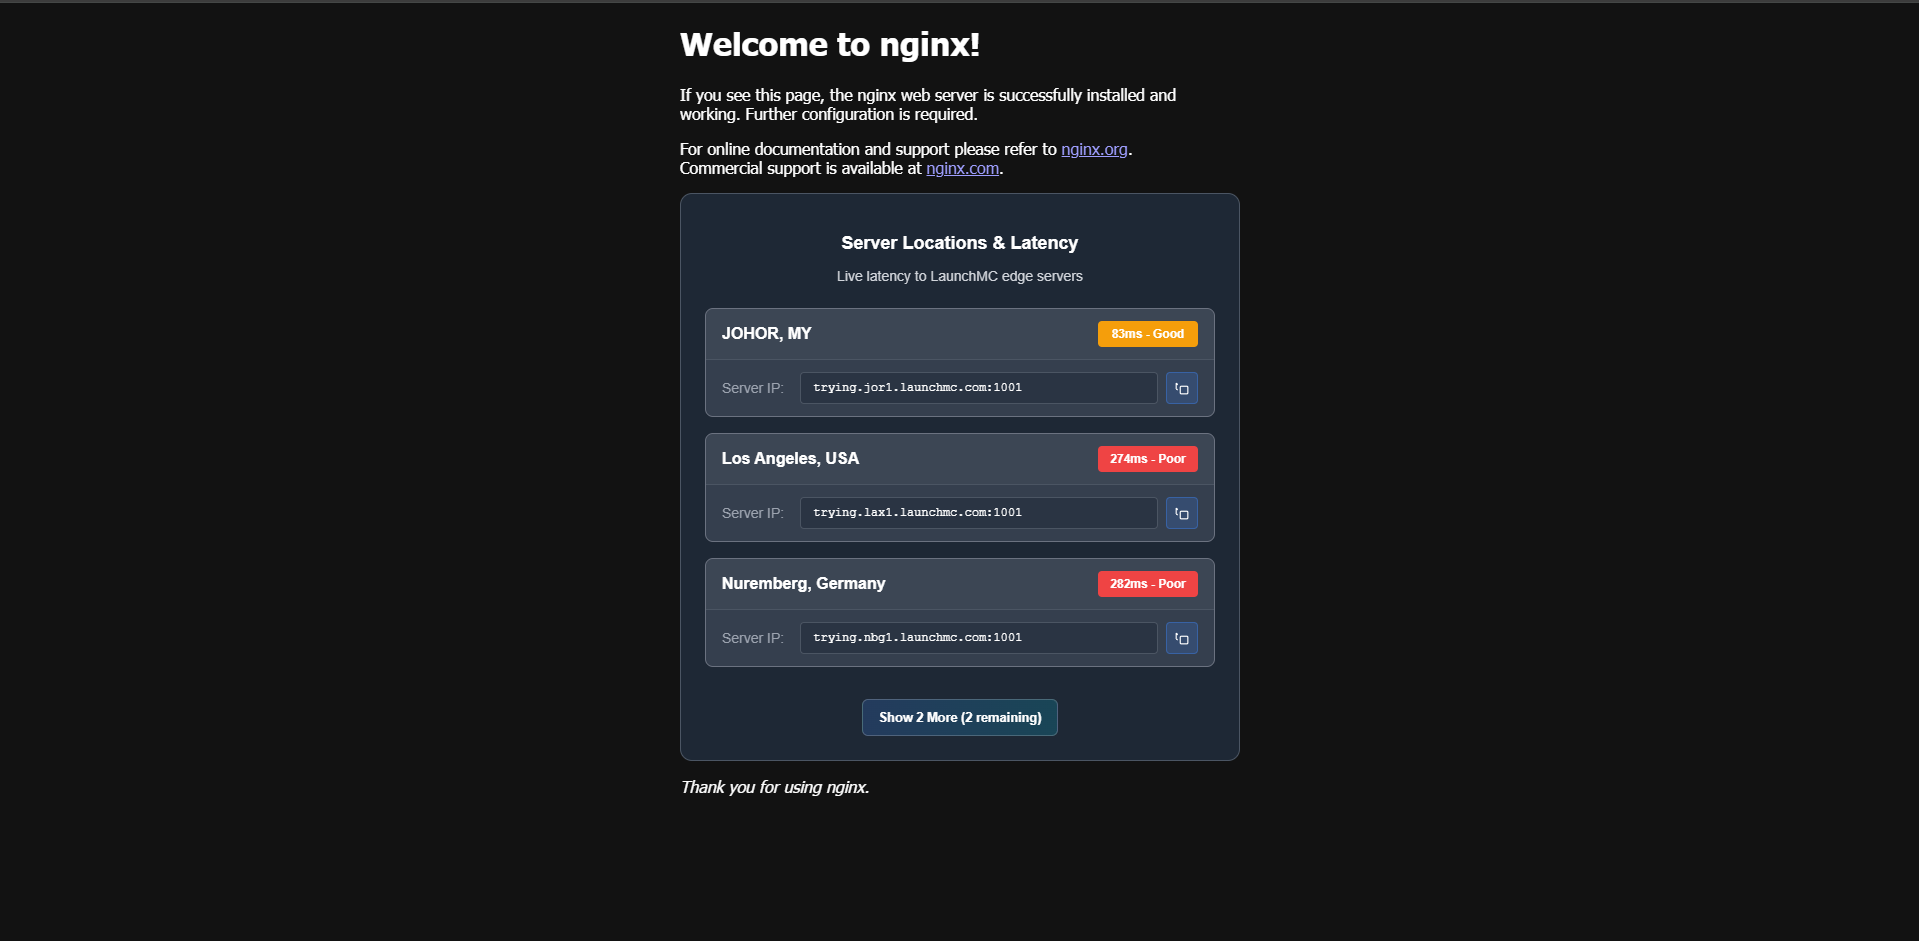
Below is an example of how the widget looks on a default nginx site.
Need help? Join our discord for support.
